Extending The Dining Room Table


One of the first things I wanted to do was to extend one end of our dining room table. The table was just a little too small for us. It was fine just to eat from but if we were both sitting at the table with food and wanted to read a magazine or look at a laptop it was a little crowded.
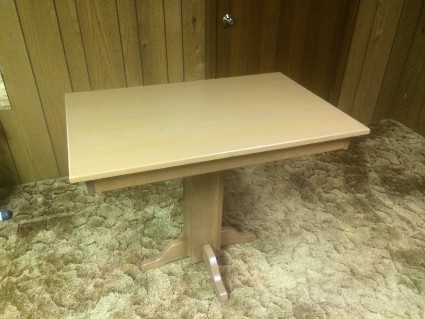
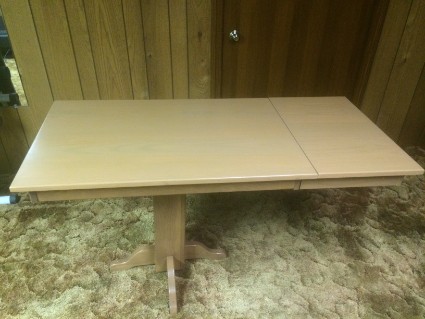
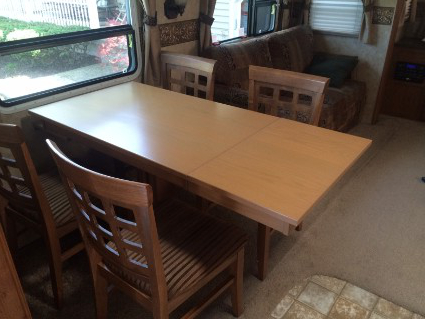
I decided that an additional 16” should work fine and it wouldn’t be in the way. So this is what I came up with.
I took a picture of the table and went to my local hardwood sawmill. I thought the table was oak but they told me it was ash. Since I didn't have bar clamps I had them glue up the raw wood. I paid around $60.00 for the glued piece of ash, 16” x 26” x 1-1/4 plus a couple of 1 x 4s for the pieces underneath.
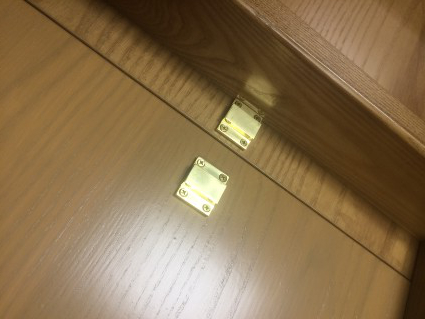
I took the table apart and sanded the top to remove the old finish. It was in good shape but I did this so the two pieces would match. I found a stain at Home Depot that was close to the original finish. I cut out two slots in the bottom pieces of the original table to let the 2x2s slide in and out to support the extension. I used a Kreg pocket hole jig (which I already had) to attach the bottom pieces to the extension and a new piece on the original table to hold in the 2x2s. I also bought a brass clip to hold the two pieces together.
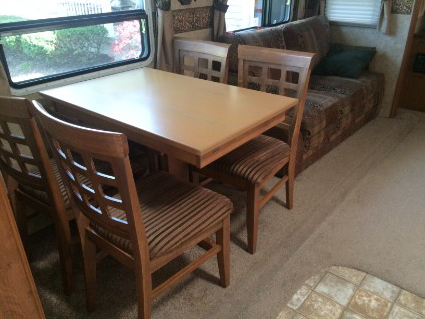
Although the stain doesn’t match exactly, I’m happy with the results. When I put the table back in the trailer I had to attached the wall side to the wall with some aluminum angle. It would have been too heavy and tipped with the extension on if I didn't. When we move the trailer it takes very little time to remove the extension and store it on the couch. Check out the pictures below.



Questions or comments? Contact us today.